마눌님의 지속적인 요구로 고양이 퍼즐게임을 만들었습니다. ^^;
Cocos2d-x의 장점으로, iOS/android/WP3가지 플래폼에 동시에 게임을 등록했습니다.
다음 페이지에서 다운로드 받아주시면 정말 고맙겠습니다.
감사합니다.
https://tackk.com/1wnrp8
2015-05-09
2015-02-04
Admob integration in Cocos2d-x v3.4 with plugin-x (Android - part 3/3)
Download API 7,8,10,17,19 & Google Play services from Android SDK Manger
Expand Eclipse Memory heap
Fix eclipse.ini at the folder where you installed Eclipse.
Excute Terminal, move to the folder below and run publish.sh
| MyGame/cocos2d/plugin/tools/publish.sh |
After completing the build, check for Protocol,admob plugin lib has been created.
3. Change Android build setting
After completing the build at the Terminal, run Game developer guide tool(gameDevGuide.sh)
| MyGame/cocos2d/plugin/tools/gameDevGuide.sh |
If you can't run because of GNU AWK, download and install gawk-3.1.8-1.dmg. (gawk-3.1.8-1.dmg download)
After excuting Game developer guide tool, enter the path of the project's Android folder. (MyGame/proj.android in this tutorial)
Select the Plugin you want to use.(In this tutorial, we'll choose AdMob)
Copy and replace the contents in the admob_cocos2dx_3_4-master/proj.android folder.
4. Eclipse Setting
Set CDT ndk build environment path like below.
Import Cocos2d-X and Google Play services's Library Projects.
| cocos2d-x | cocos2d-x-3.4/cocos/platform/android/java |
| Google Play services | android-sdk-macosx/extras/google/google_play_services/libproject/google-play-services_lib |
Import MyGame project.
Set the "Android" and "Java Build Path" settings of MyGame Project.
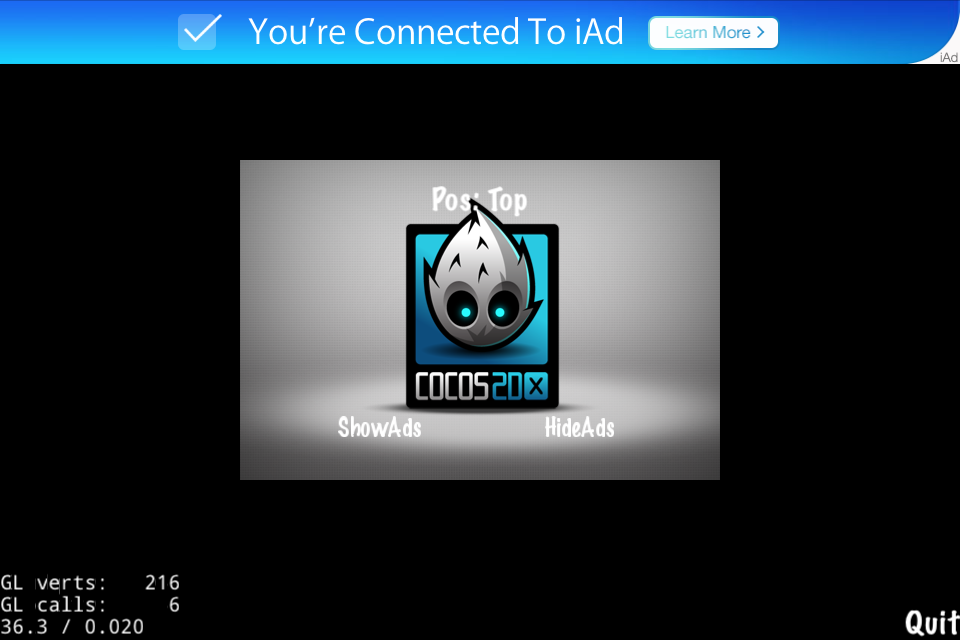
5. Result
Admob integration in Cocos2d-x v3.4 with plugin-x (iOS - part 2/3)
<- to Part 1/3
1. Add next 2 projects to Xcode.
7. Result
1. Add next 2 projects to Xcode.
| MyGame/cocos2d/plugin/protocols/proj.ios/PluginProtocol.xcodeproj |
| MyGame/plugin/plugins/admob/proj.ios/PluginAdmob.xcodeproj |
Caution : To support iOS 5 devices, change the Library project's "iOS Deployment Target" to iOS5.0
2. At the Project Setting, add Dependency and Library to 2 Library Projects.
3. Set the User Header Search Path to recursive.
4. Add a flag -ObjC at the Linking>Other Linker Flags.
5. Add a Frameworks for AdMob/iAd/InMobi.
| AdSupport.framework (optional) |
| CoreLocation.framework |
| CoreTelephony.framework |
| EventKit.framework |
| EventKitUI.framework |
| GameController.framework (optional) |
| iAd.framework |
| libsqlite3.0.dylib |
| MediaPlayer.framework |
| MessageUI.framework |
| Security.framework |
| Social.framework (optional) |
| StoreKit.framework |
| SystemConfiguration.framework |
6. Setting the Ad Unit ID
At your AdMob page, check the ID in form of "ca-app-pub-0000000000000000/0000000000"
Copy and paste to the source code
7. Result
admob
iAd
Speed comparison between Cocos2d-x and Unity3D game
Cocos2d-x 와 Unity3D 게임의 속도 비교 영상
Cocos2d-xとUnity3Dゲームのスピード比較映像
Admob integration in Cocos2d-x v3.4 with plugin-x (Preparing - part 1/3)
Features
| Latest Library | GoogleMobileAdsSdkiOS-6.12.2 InMobi-iOS-SDK-4.5.1 Google Play Service |
| Mediation Support (iOS) | AdMob, iAd, InMobi |
| Google Play Service Support (android) | Necessary at Publish/Updating Android app from August 2014 |
| Plugin-x smart banner Bug fix (android) | Fixed Source : AdsWrapper.java |
Prerequisites
1. Setting up the Cocos2d-x Development Environment
| Cocos2d-x v3.4 |
| Xcode 5.1 or above |
| Eclipse Luna Service Release 1a (4.4.1) with ADT&CDT plugin |
| admob_cocos2dx_3_4-master.zip (Download from https://github.com/neokoala/admob_cocos2dx_3_4) |
2. Prepare the Test Project
| CocosProjetcs/MyGame | cocos new -p com.nowapp.MyGame -l cpp MyGame |
3. Unzip admob_cocos2dx_3_4-master.zip and copy/replace to the MyGame project
Copy and replace HelloWorldScene.cpp,HelloWorldScene.h to Classes folder
Copy and replace plugins/admob folder to MyGame/cocos2d/plugin/plugins folder
Copy and replace protocols/proj.android/src folder to MyGame/cocos2d/plugin/protocols/proj.android folder
2015-02-03
Cocos2d-x v3.4 에서 plugin-x로 AdMob 연결하기 (Android - part 3/3)
Android SDK Manger에서 API 7,8,10,17,19 & Google Play services 다운로드
Eclipse 메모리 heap늘리기
Eclipse가 설치된 폴더에서 eclipse.ini 파일을 다음과 같이 수정합니다.
터미널실행후 다음 폴더로 이동해서 publish.sh를 실행합니다.
| MyGame/cocos2d/plugin/tools/publish.sh |
빌드 완료후 다음처럼 Protocol,admob plugin lib가 만들어 졌는지 확인합니다.
3. 안드로이드 빌드 설정 변경
터미널에서 빌드 완료후 Game developer guide tool(gameDevGuide.sh)을 실행합니다.
| MyGame/cocos2d/plugin/tools/gameDevGuide.sh |
Game developer guide tool이 실행되면 프로젝트의 안드로이드 폴더 path를 입력합니다.
(여기서는 MyGame/proj.android)
다음으로 사용할 plugin을 선택합니다. 여기서는 (admob)
다운로드받은 admob_cocos2dx_3_4-master/proj.android폴더의 내용을 다음처럼 복사/대체합니다.
4. Eclipse설정
다음 그림을 참고해서 CDT ndk build environment path를 설정합니다.
cocos2d-x와 Google Play services의 라이브러리 프로젝트를 import합니다.
| cocos2d-x | cocos2d-x-3.4/cocos/platform/android/java |
| Google Play services | android-sdk-macosx/extras/google/google_play_services/libproject/google-play-services_lib |
MyGame 프로젝트를 import합니다.
다음그림처럼 MyGame프로젝트의 “Android”와 “Java Build Path” 설정을 합니다.
5. 실행결과
피드 구독하기:
덧글 (Atom)


